How to Sign Secured iOS Apps Using Codesign on Appdome
Code signing is essential for installing any app on a mobile iOS device. A valid signature, created using an Apple-issued certificate, ensures the app’s integrity and verifies that it originates from a trusted source and has not been tampered with. By enforcing mandatory code signing, Apple prevents unsigned or self-modifying code from running on devices.
During the Appdome app build process, adapters are added to the app to include the requested functionality. This invalidates the app’s original signature, requiring the app to be re-signed before deployment. As a result, the app’s original signature is invalidated and must be resigned to allow the app to be deployed on mobile devices.
Signing Methods on Appdome
Appdome offers three methods for signing iOS apps through the Sign tab:
On Appdome
Appdome handles the entire signing process. Simply provide your signing credentials, including:
- P12 certificate and password.
- Provisioning Profile and entitlement files for each executable.
Private Signing
This gives you full responsibility for handling the entire signing process. For detailed instructions, see How to Privately Code Sign Sealed iOS Apps using DevSecOps Build System.
Auto-DEV Private Signing
Allows you to sign the app without uploading the signing certificate to Appdome’s cloud service.
Appdome provides you with a script (.sh file) that runs on your trusted environment and signs the app using your credentials (certificate and password) as input. For details, see the topic How to Sign Secured iOS Apps Using Appdome’s Auto-Dev Private Signing Script.
Signing iOS Apps on Appdome
After building an iOS app on the Appdome platform, with the click of the Sign button, the Appdome platform:
- Verifies the components of the certificate, entitlements, and provisioning profile to ensure that all of the app’s components are correctly signed.
- Resolves mismatching entitlements that can occur if the provisioning profile provided does not match the entitlements within an app.
- Do not modify the iOS app in any way, as any modification would trigger a violation due to the anti-tampering protection that is automatically integrated into built apps.
For security reasons, the Appdome platform does not store any credentials—namely, the certificate, certificate password, or provisioning profile—used when signing apps on the platform. These credentials are permanently removed immediately after the user session is closed.
Important Prerequisite Notes
Every time you build an app on Appdome, the final package is sealed, signed, and protected automatically by ONEShield, Appdome’s app hardening (app shielding) technology. This protects the app from tampering, reverse engineering, or other methods of compromise. To ensure Anti-tampering protection while signing locally, Appdome still needs to seal the app using the provisioning profile. Hence, the private signing process requires the provisioning profile.
Furthermore, the below process will only work for applications that are developed and signed in Xcode (or any other development framework) using the same certificates, provisioning profiles, and credentials that you used for signing locally after Appdome. This is done in order to avoid mismatching entitlements that may prevent the application from installing. On the Appdome platform, you can sign any app with any certificate because the Appdome platform resolves mismatching entitlements and performs enhanced in-depth checks.
Prerequisites
- Appdome-GO access
- A Mac computer running OS X
- The certificate (with private key) Keychain Access used to sign the app in Xcode before uploading the .ipa to Appdome.
For further details on creating certificates, see How to Code Sign Secured iOS Apps with a P12 Distribution Certificate. - A built .ipa downloaded from Appdome without signing (using the Private Signing option).
- The vanilla non-built app.
- A provisioning profile for each executable that requires signing.
The profile must meet the following requirements:
- The provisioning profile must be the same profile used to sign the app in Xcode before uploading the .ipa to Appdome.
- The App ID for the provisioning profile should be either a Wildcard or match the bundle ID of the executable that needs signing.
- The provisioning profile should have the entitlements that are requested by the executable.
- If the fusion or the app needs AppGroups, the provisioning profile should contain them.
3 Easy Steps to Sign Secured iOS Apps on Appdome
Follow these step-by-step instructions to Privately Sign Secured or Shielded iOS Apps.
- Download the secured IPA, and in the Appdome platform, perform the following steps:
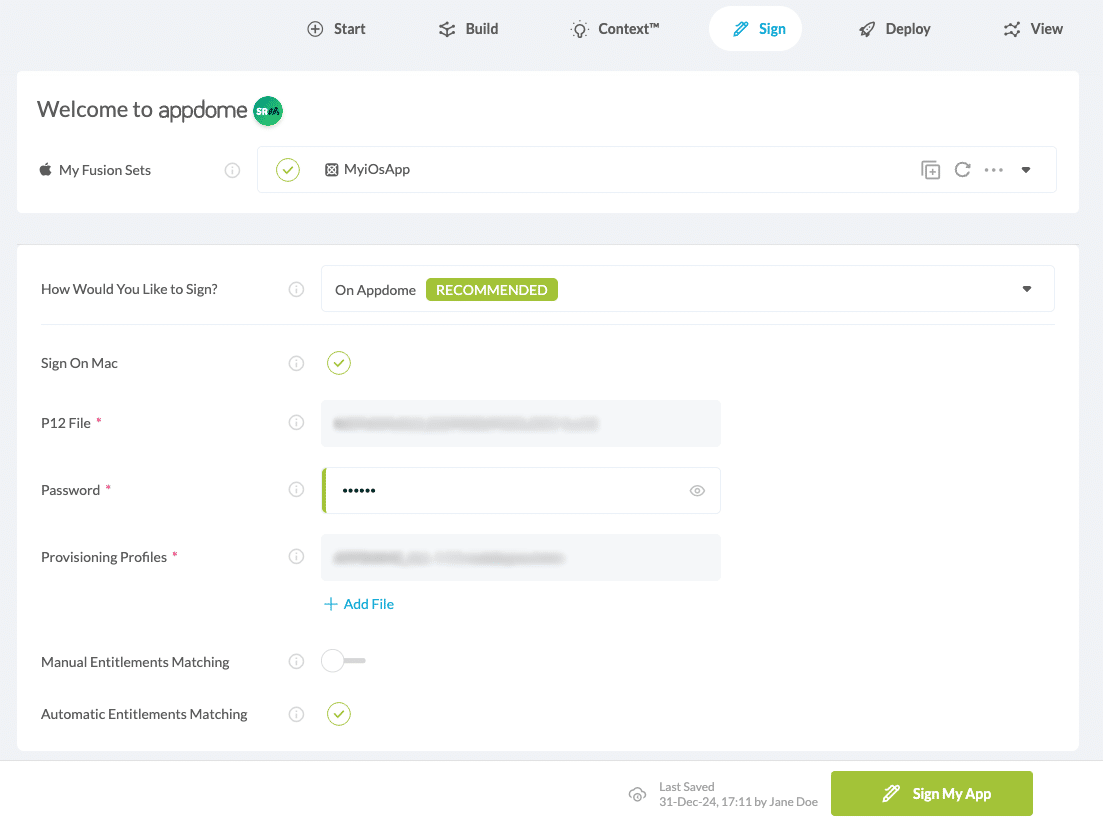
- Navigate to the Sign tab.
- Go to the section How Would You Like to Sign?
- Select On Appdome from the drop-down menu.
- Upload your P12 certificate and Provisioning Profile.
- Optional: Save or Remove Signing Credentials
Appdome allows saving signing credentials to streamline future signing processes.
Additionally, if the signing credentials are no longer needed or need to be updated, they can be removed directly from the Sign Tab by clicking the Remove Signing Credentials button.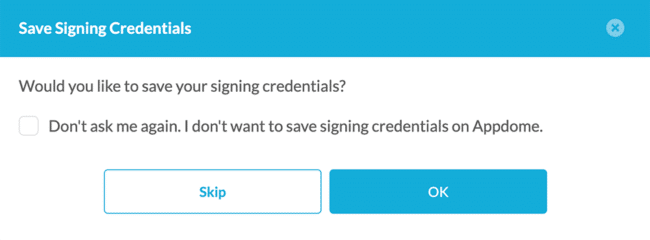
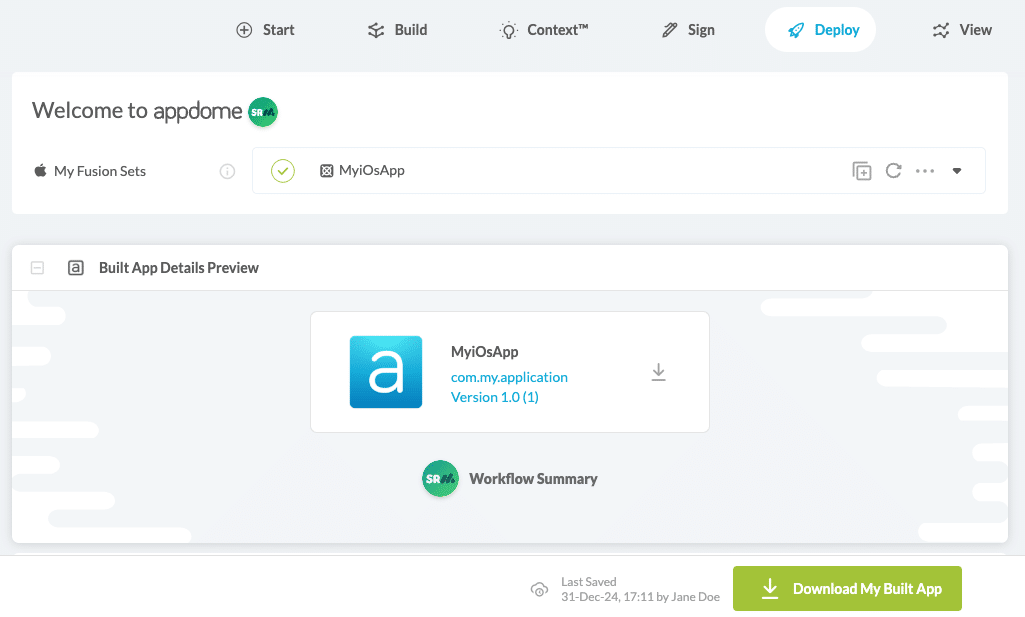
- Click Sign My App to start the signing process.
- Click Download My Built app.
Related Articles:
- How to Use Code Sign on Mac for Secured iOS Apps
- How to Automate Secure Android App Code Signing in DevOps CI/CD
- How to Privately Code Sign Sealed iOS Apps using DevSecOps Build System
How Do I Learn More?
If you have any questions, please send them our way at support.appdome.com or via the chat window on the Appdome platform.
Thank you!
Thanks for visiting Appdome! Our mission is to secure every app on the planet by making mobile app security easy. We hope we’re living up to the mission with your project.